How To Make Paper Flower Decorations
With spring just around the corner and the flowers starting to poke their heads up a little, ready to bloom, I thought it would be nice to bring a little spring inside with these paper flower decorations.
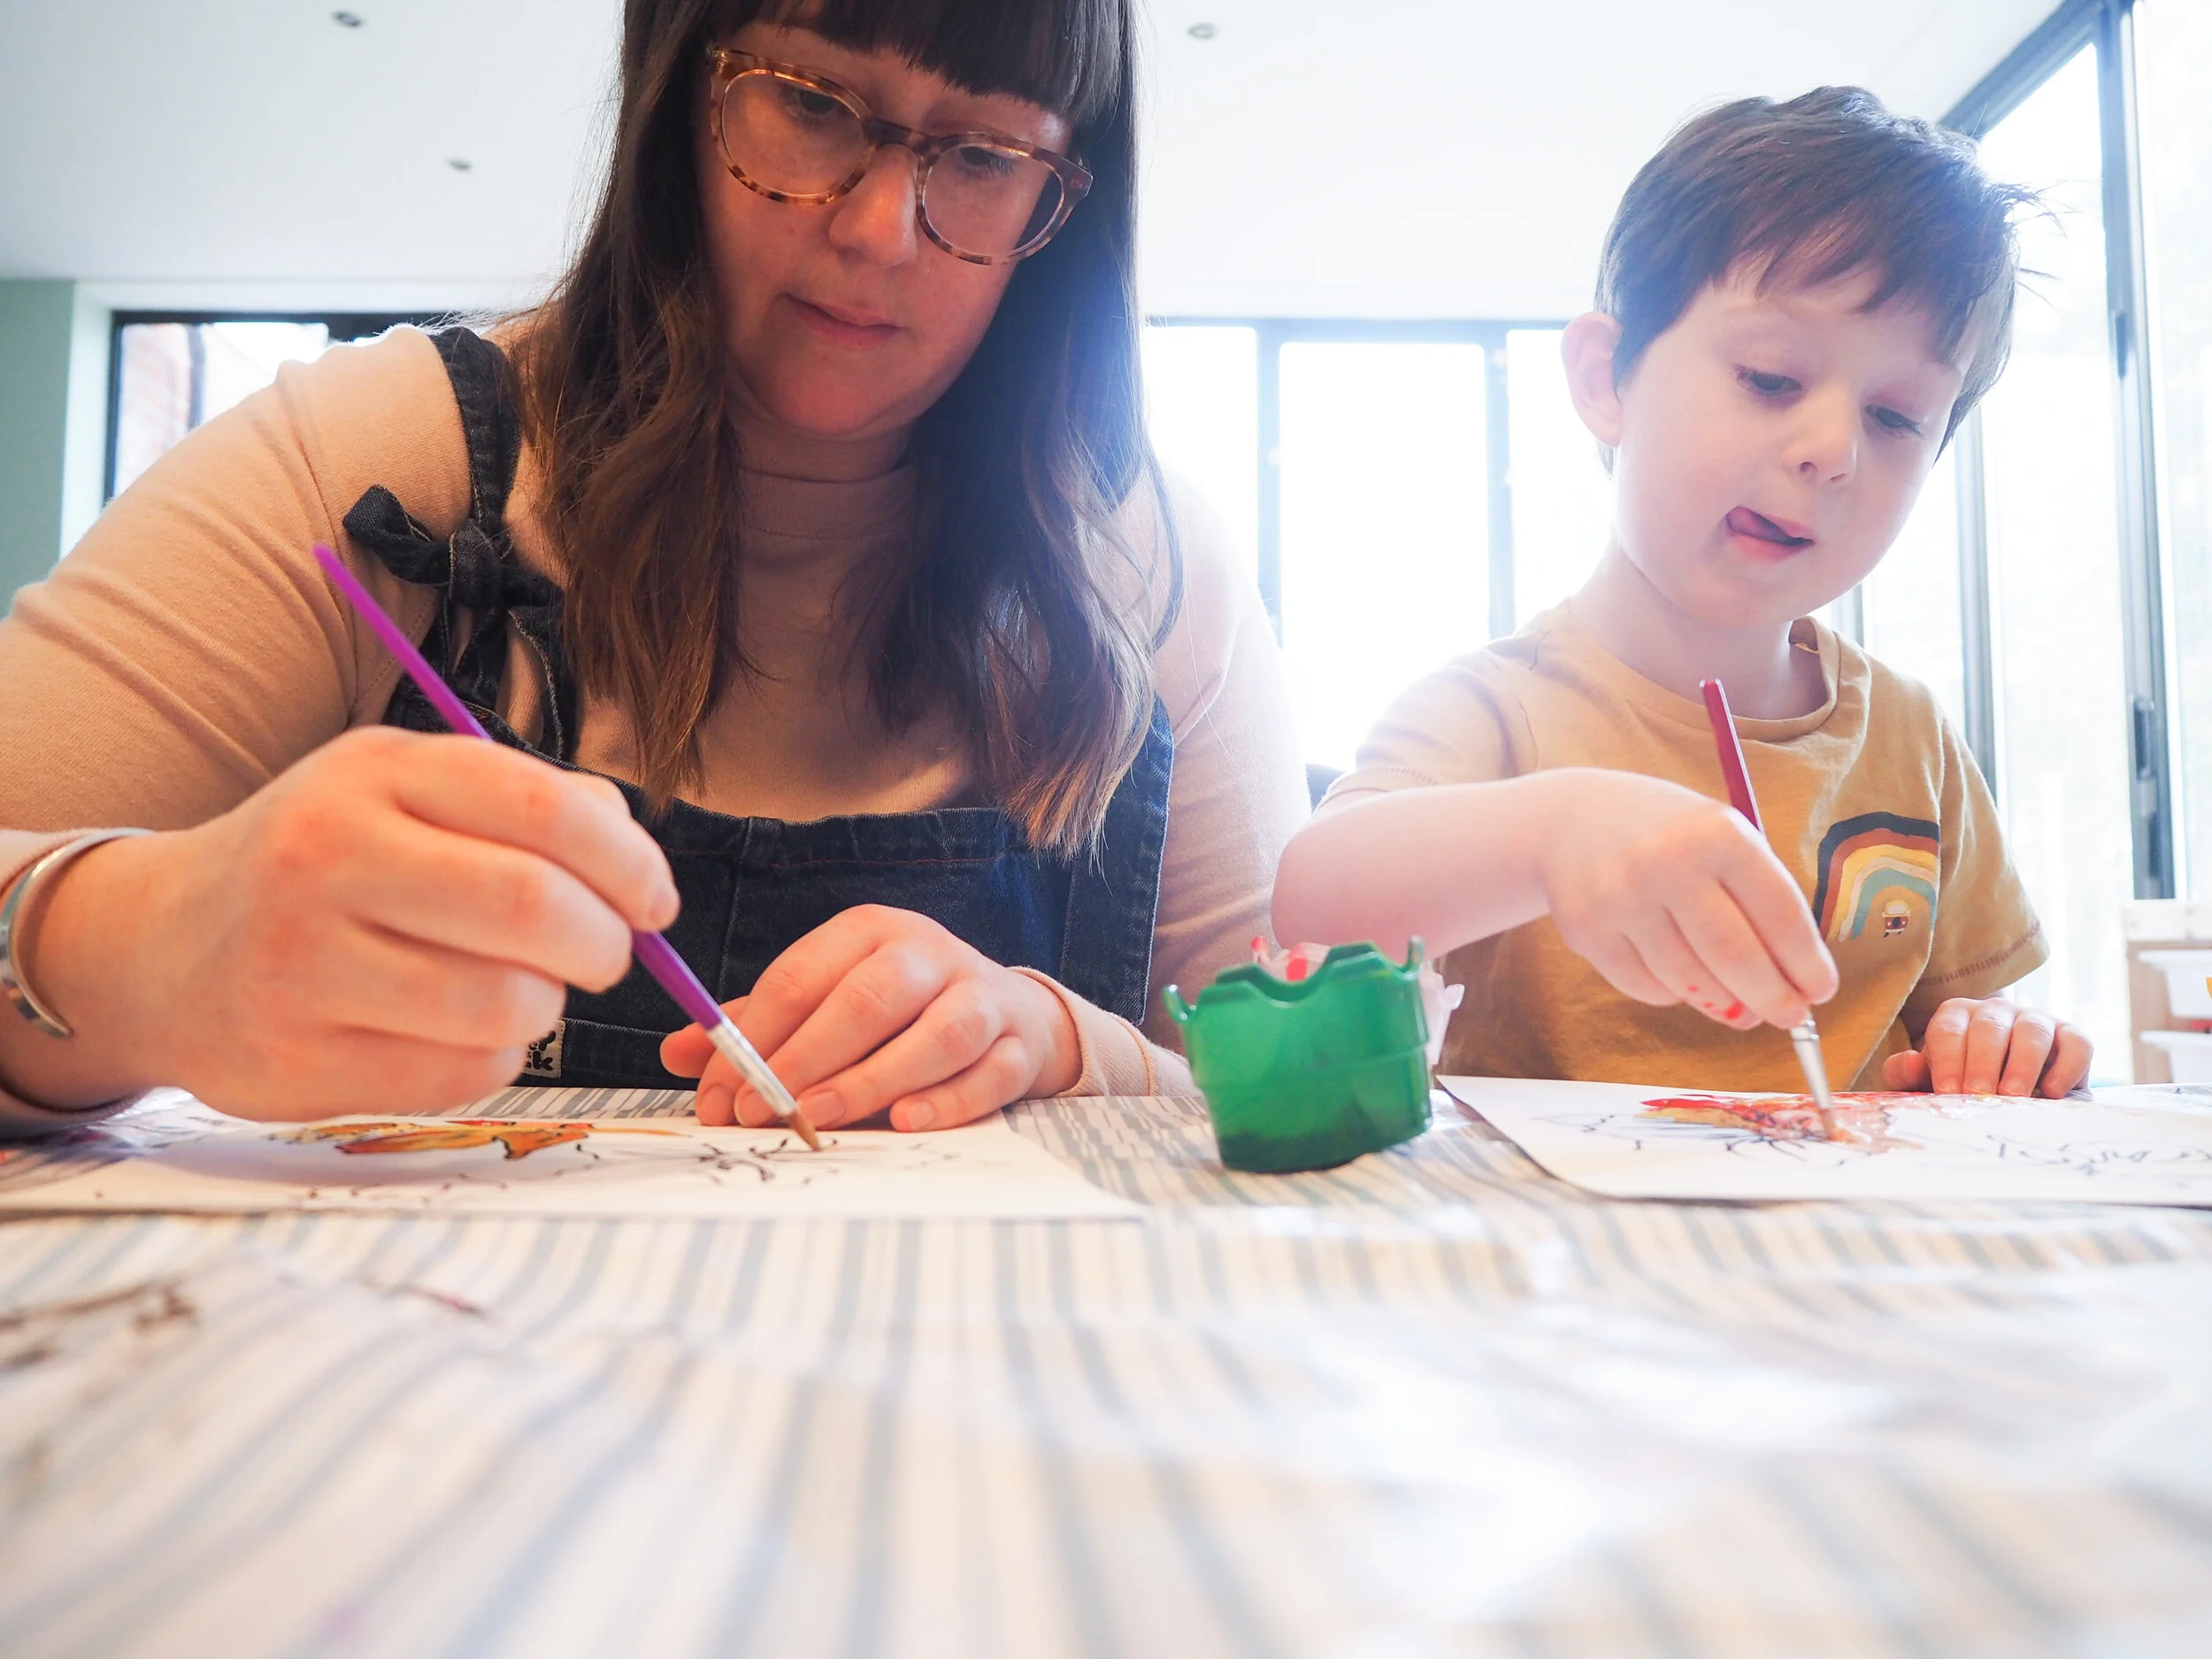
I’ve also been looking for craft activities to do with my son which give me the opportunity to stretch my creative fingers too, rather than just watching him cover the dining table with paint! So here they are, paper Daffodils as the birth flower of March, which you can paint and colour to your hearts content.
Print off the templates on paper, link to download at the end of the blog. Normal printer paper is fine for crayons and pencils etc but if you want to paint them I would recommend you use watercolour paper or card or maybe stick them onto an old cereal box first to give them a little more strength.
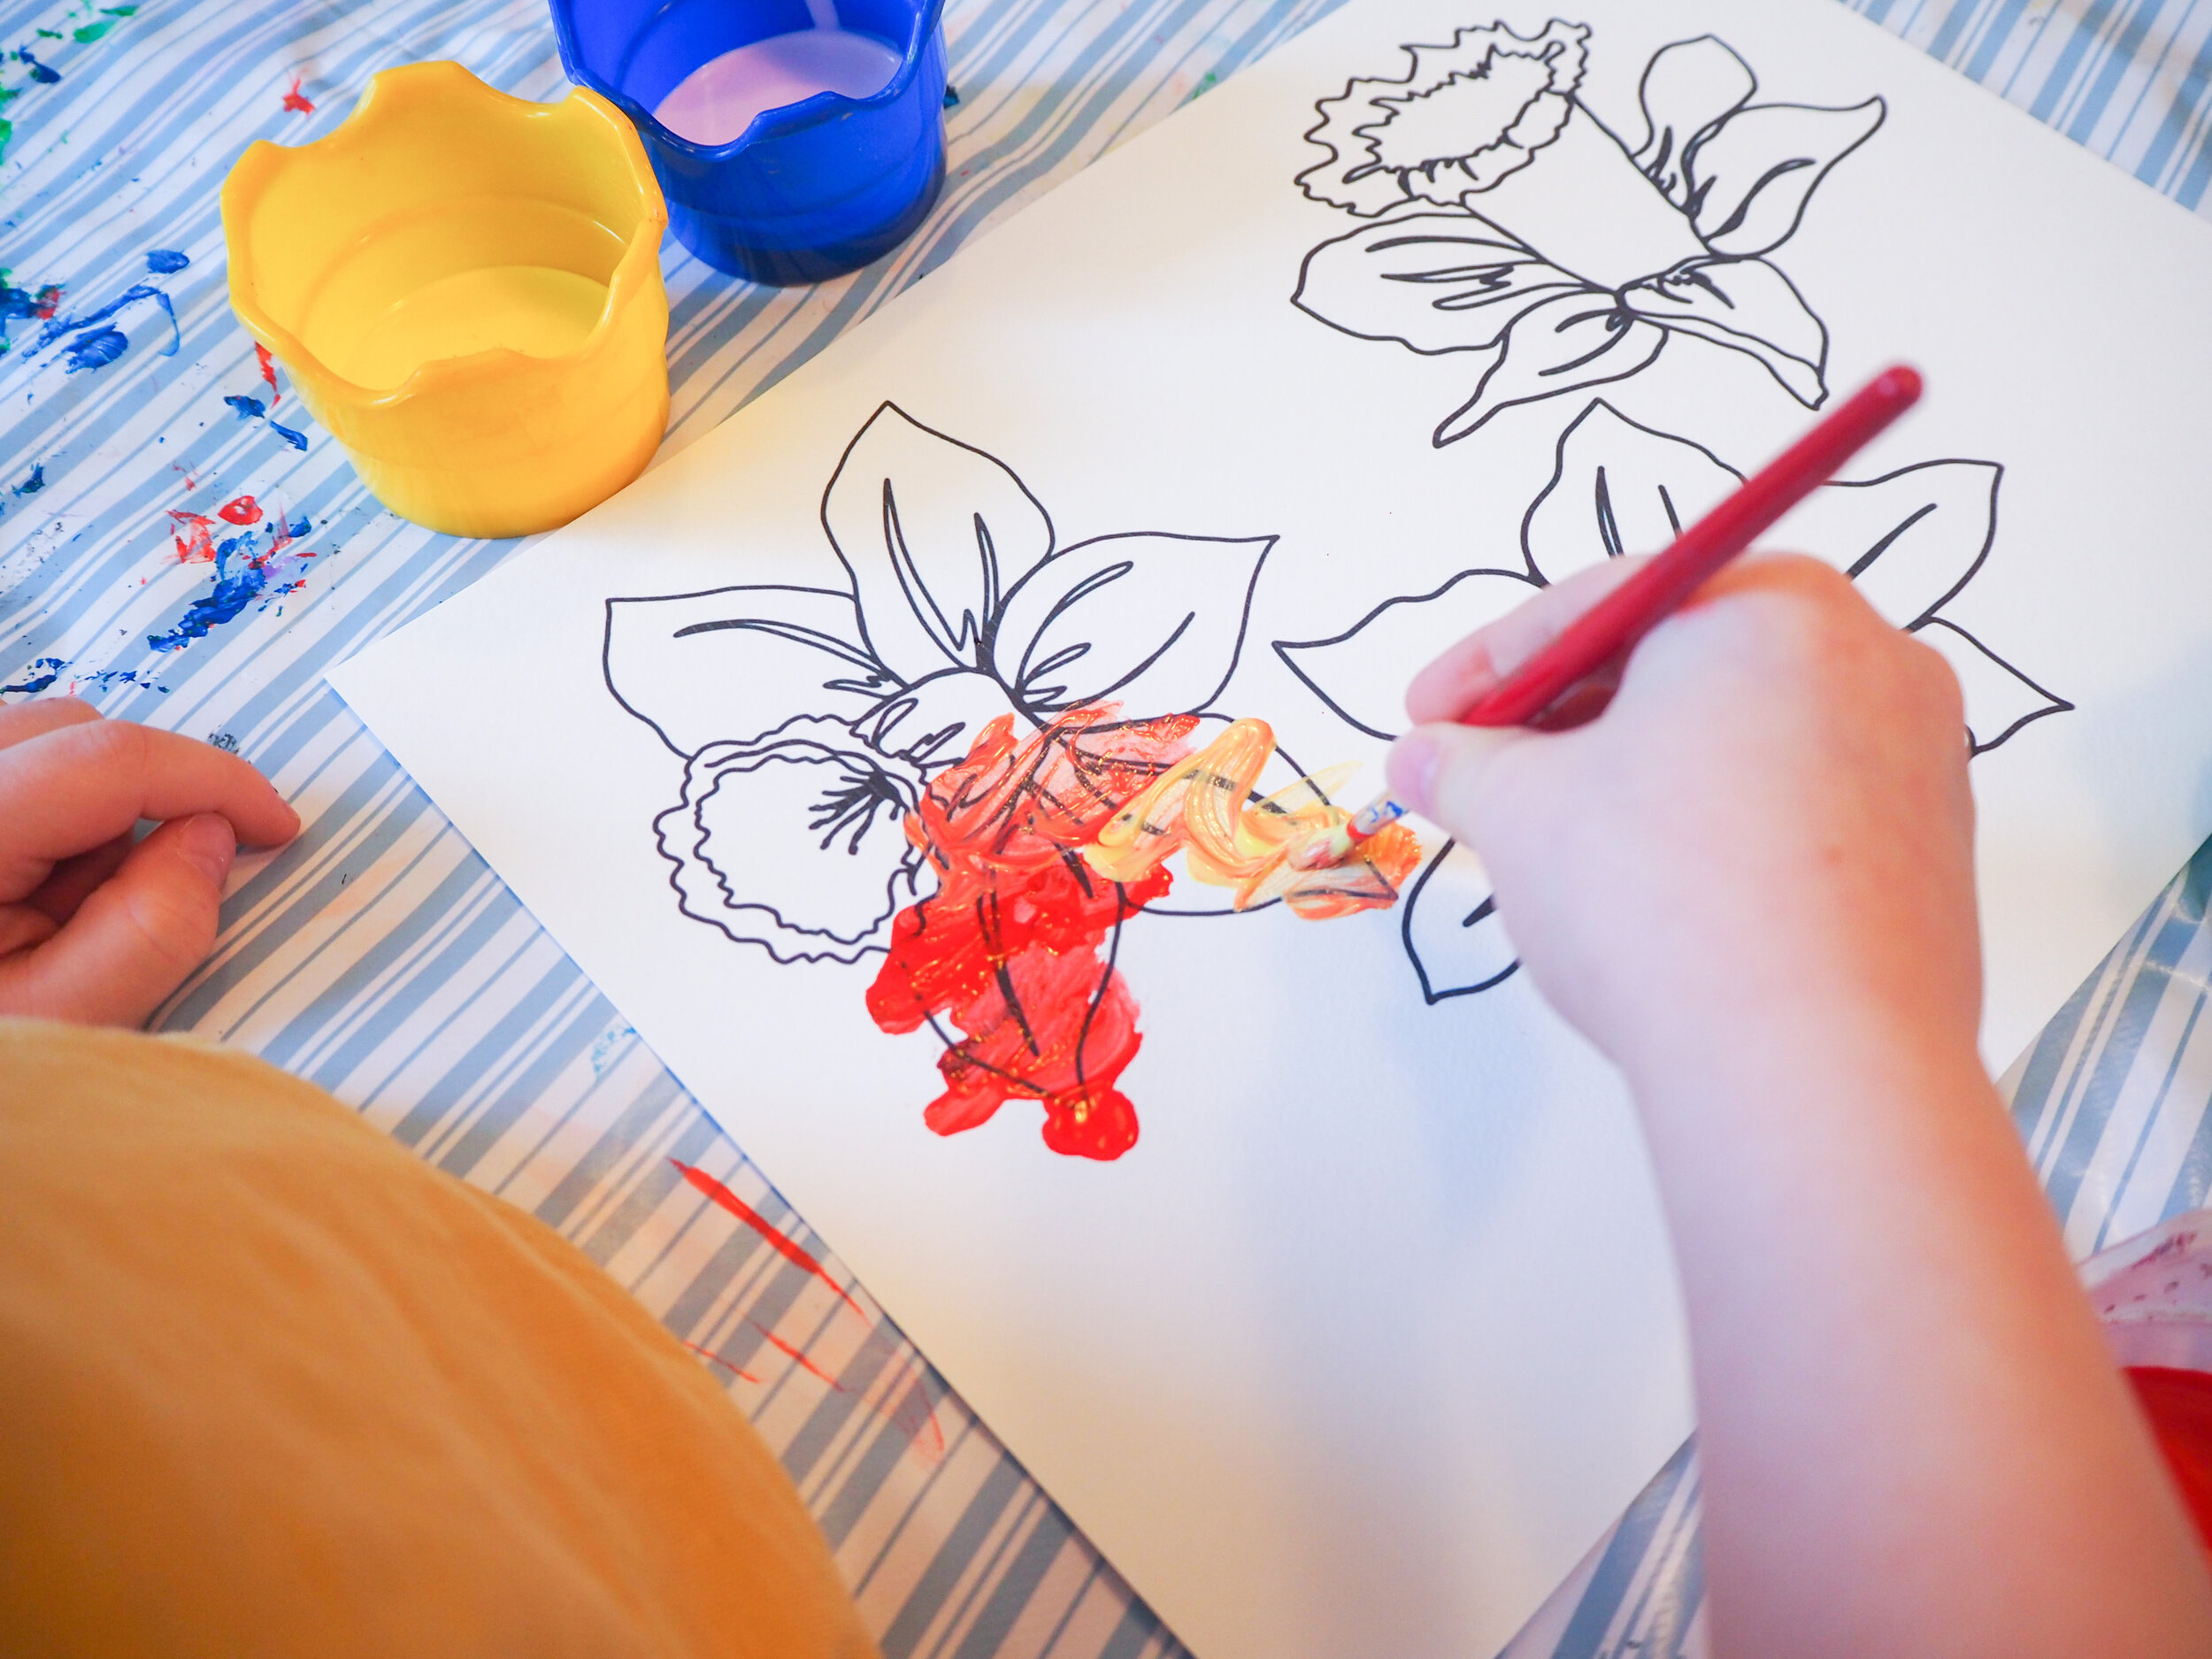
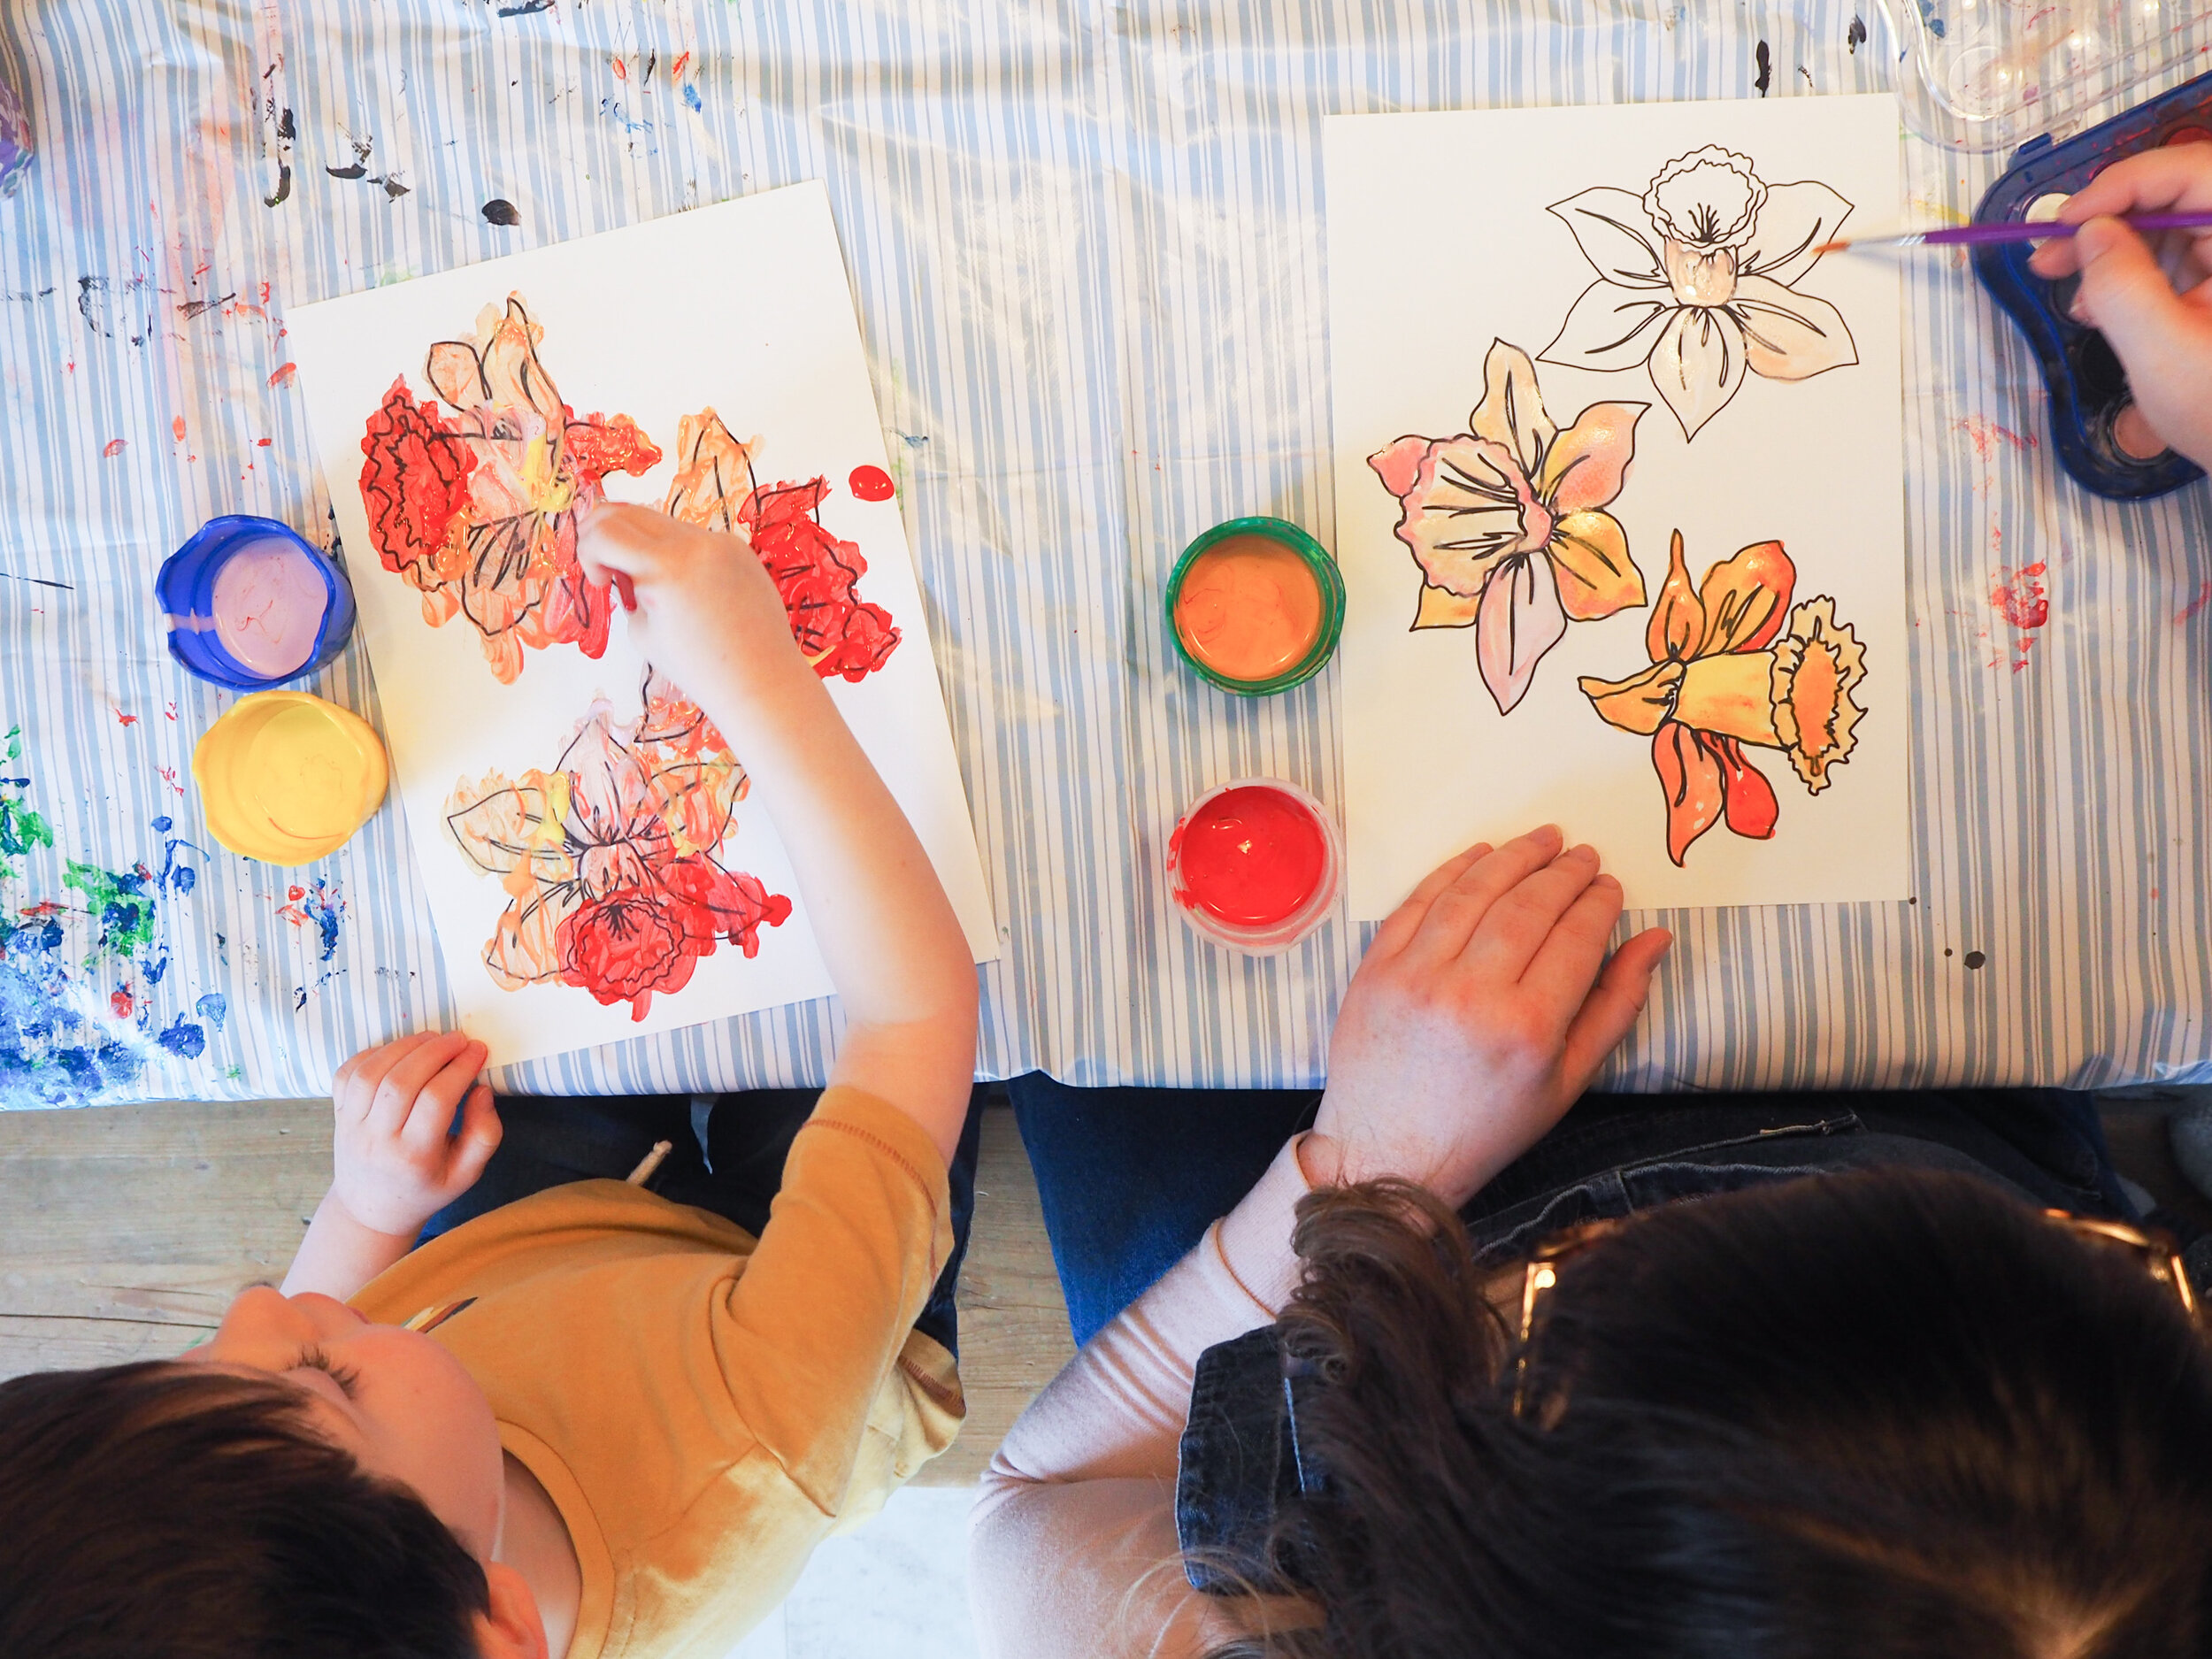
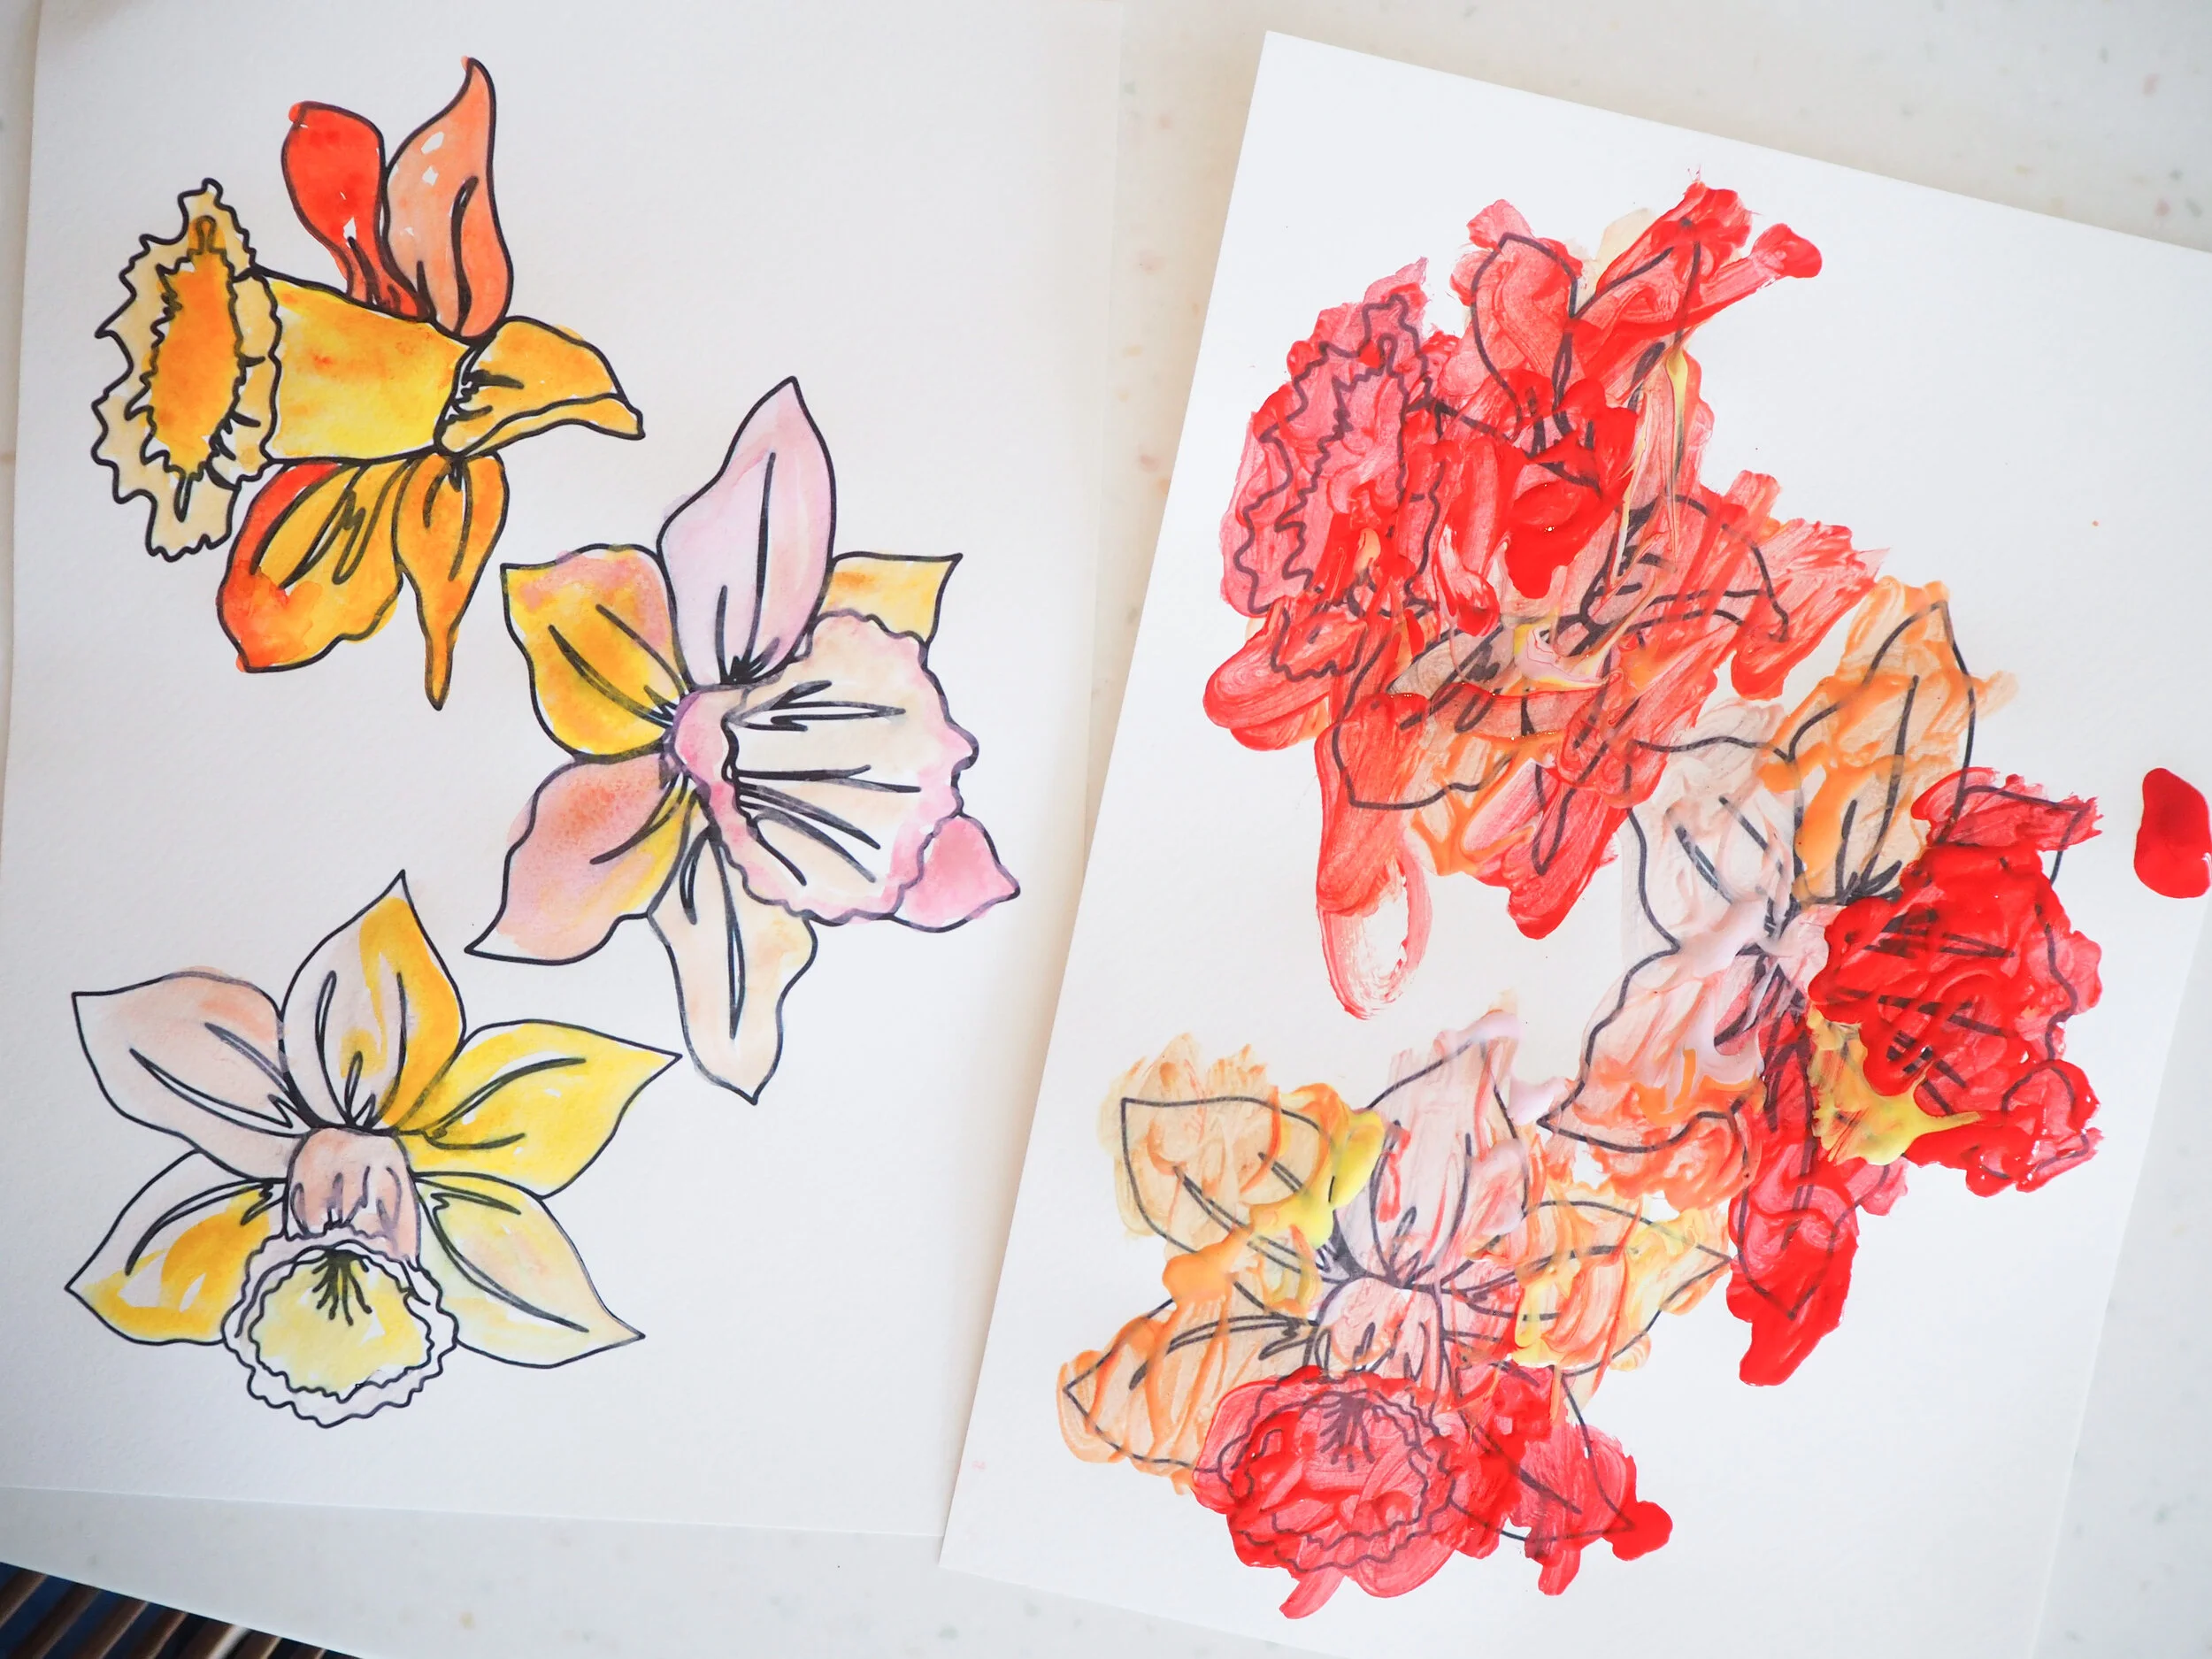
2. Get crafty! Coloured pencils, crayons, pastels etc work best as the ink can bleed a little when water is added. But as you can see we used poster paints and watercolours as well and still had good results.
3. Cut them out. I didn’t spend too long trying to cut along the lines but added a small border round the edges which I think is effective and saves time too when you have a small person who wants to get onto the next bit!
5. Then all you need to do is hole punch a hole either side of each flower and thread through some string or ribbon and you’re ready to hang. I used some ribbon we had kept from a birthday present but you could use string, twine, wool, anything you have lying around really. Et voila!
I’d love to see your creations if you do have a go so please tag me on Instagram if you share and if you follow me over there you’ll also find a video of how we made ours too, incase you need any extra pointers! Anything to keep the small people entertained at home right now hey?!
Have fun and speak soon!


